How to Check MX Records and Set Up Professional Email for Your Domain
By Ashish Pratap · Sep 24, 2026 · 4 min read
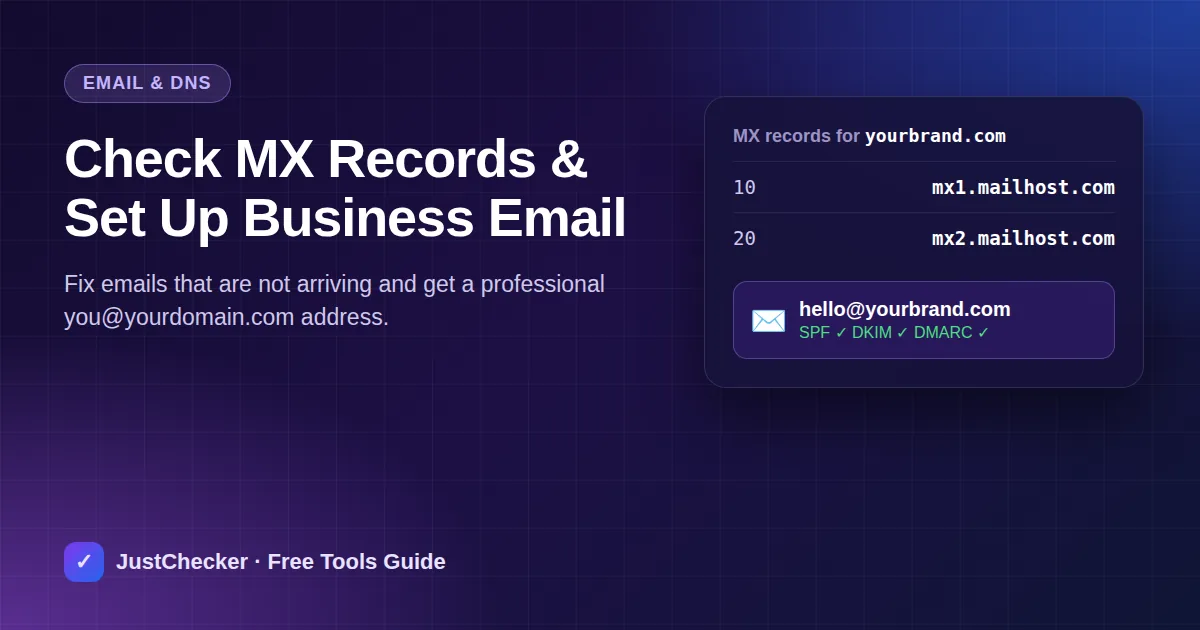
An address like info@yourbrand.com looks far more trustworthy than a free webmail address - and it's easier to set up than most people think. The key is a DNS setting called the MX record. In this guide you'll learn how to check your MX records, fix emails that aren't arriving and set up professional email correctly.
What is an MX record?
An MX (Mail Exchanger) record is a DNS entry that tells the internet which server receives email for your domain. When someone sends a message to you@yourbrand.com, their mail server looks up your MX records and delivers the message to the server listed there.
Each MX record has two parts:
- Priority - a number; lower numbers are tried first.
- Mail server hostname - for example mx1.yourmailprovider.com.
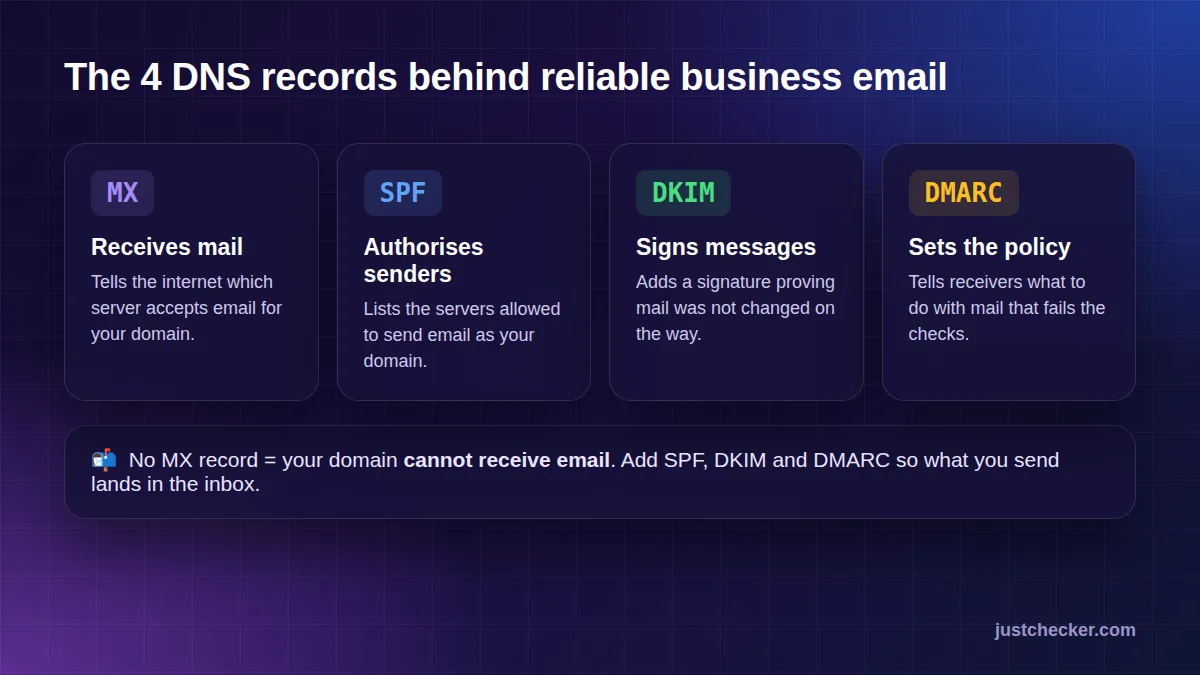
No MX records means your domain cannot receive email at all.
How to check MX records
- Open the free MX Record Checker.
- Enter your domain (without www) and click Check MX Records.
- Review the list of mail servers and their priorities.
- To see each server's IP address and reverse DNS, use the Mail Server Lookup.
Common MX record problems
No MX records found
Your domain has no mail server, so every email sent to it bounces. This is normal for a brand-new domain - you simply haven't set up email hosting yet.
MX points to the wrong provider
After switching email providers, old MX records often stay behind. Remove records for the old service so mail doesn't go to a mailbox you no longer check.
MX points to an IP address
MX records must point to a hostname, never directly to an IP address. Some servers will reject mail if this is wrong.
Changes not showing yet
DNS updates can take up to 24-48 hours to spread. Check progress with the DNS Propagation Checker.
How to set up professional email for your domain
- Choose an email host. Many hosting plans include business email, so you don't pay twice.
- Create your mailboxes - for example info@, sales@ and your own name.
- Add the MX records your provider gives you (they're added automatically when your domain uses the host's nameservers).
- Add SPF, DKIM and DMARC so your messages land in the inbox instead of spam.
- Test by sending mail to and from an outside address.
- Free domain*
- Free SSL
- 99.9% uptime
- 24/7 support
Don't forget SPF, DKIM and DMARC
MX records only handle incoming mail. To make sure the email you send is trusted, add these three records:
- SPF lists the servers allowed to send email for your domain. Check it with the SPF Checker.
- DKIM adds a digital signature that proves messages weren't changed. Check it with the DKIM Checker.
- DMARC tells receiving servers what to do with mail that fails SPF or DKIM. Check it with the DMARC Checker.
Gmail and Yahoo now require these records from bulk senders, and they improve delivery for everyone.
Frequently asked questions
Can I have a website and email on different providers?
Yes. Your website follows the A record and your email follows the MX records, so each can point to a different company.
How many MX records should I have?
Use exactly the records your email provider gives you - usually one to five, with different priorities for backup.
Why do my emails go to spam?
Missing or incorrect SPF, DKIM or DMARC records are the most common reason. Check all three and fix any errors.
Conclusion
MX records decide where your email goes. Check them in seconds, fix missing or outdated entries, and add SPF, DKIM and DMARC so your messages are trusted. If you don't have email on your domain yet, choose hosting that includes it - you'll look more professional from the very first message.